Visible crew/equipment: After Keanu finds Dr. Alistair Barkley dead on the lab floor and goes to attempt to revive him several shots show nobody else is around him, but straight after he starts to push on his chest a crew member can be seen stood over his right shoulder in a red top with a blue sleeve.
Visible crew/equipment: When the guy on the roof stands and takes aim at the window in preparation for Brian, the film crew are reflected in a window behind him. (00:13:00)
Visible crew/equipment: When Sarah is fighting with Garcia in her home, for a brief moment 2 crew members are seen, one in white shirt and beige pants (looks like director Clint Eastwood) and the other wearing a blue shirt and dark pants. (01:24:15)
Visible crew/equipment: As they notice something large pass through the woods, the camera pans from left to right You can see a blinking light to the right of the waterfall in the distance on the lake, which is something in the park in New Zealand. (00:36:50 - 00:37:30)
Suggested correction: The flashing light actually belongs to the rotating beacon light on top of the shuttle. This light is shortly after when the crew start to return before it explodes.

Visible crew/equipment: Before Lorna has her throat slashed, you can see a tube pumping the blood.
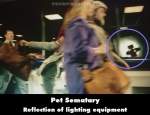
Visible crew/equipment: As Rachel runs to the airplane through the line of passengers, on her way back to the house from her parents in Chicago, you can see lighting equipment reflected in the glass window, before it cuts away. (01:11:00)
Visible crew/equipment: When Hoffman runs to hide from the second coroner, he goes right up close to the camera. When he does, you can see the camera's shadow on his face. (01:08:00)
Visible crew/equipment: When water blurs the Father's word book, and the word deliveries appears, a woman appears to the right of him that appears to be a member of the camera crew, or possibly Irene, but she shouldn't be there either, because she is praying with imaginable nuns at that time. (01:06:22)
Visible crew/equipment: After Batman and Catwoman's mistletoe banter, a wire can be seen attached to his back as he glides off the rooftop. (01:20:15)
Visible crew/equipment: When the Batmobile is driving itself to Batman and Vicky Vale, you can clearly see a hand turning the steering wheel. (01:12:00)
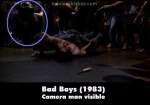
Visible crew/equipment: About one hour and fifty minutes in, the two stars get into a fight and are rolling around the floor. In at least one scene, a cameraman, with a handheld Panavision camera, is quite visible in the middle of the shot.
Visible crew/equipment: If you look really close in the background as the killer throws Cici off the balcony, you can see someone sitting in a tree, wearing black, with a camera. (00:33:35)
Visible crew/equipment: John pushes his newly captured prisoner into the back of the van Jane is in. As he closes the van door you can see an extra arm behind John's back moving over to hold the doors closed.
Visible crew/equipment: Towards the end of the film when Billy runs at the top of the screen towards the exit of the jail, you can see the film crew at the bottom of the screen.
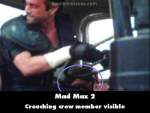
Visible crew/equipment: When Wez rips the door off the tanker you can see a crouched crew member next to Max. This has been disputed but it is there, watch underneath the steering wheel just after Wez starts shouting "Go! Go! Go!". (01:19:05)

Visible crew/equipment: In the closeup of Evie when she is holding a spoon under her eyes, you can see the boom mic reflected in each spoon. (01:04:15)
Visible crew/equipment: As the Oracle stands up from the bench, right at the end (after she says "Someday"), you can see a strip of yellow tape on the back of the bench marking the right place for her to sit. (01:54:40)
Visible crew/equipment: Just after Stackhouse is executed, Burnett runs up then down a hill. Once he's over the other side he falls and rolls down a steepish incline. In the background (top left of screen) you can see set vans lined up nicely along the side of a road. (00:32:07)
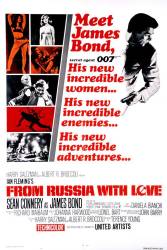
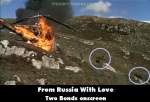
Visible crew/equipment: When James Bond shoots down the helicopter, then it crashes. He emerges from the rocks to run from the crash site to the right of the picture, just as you see Sean Connery emerge from behind rocks from the right in the same scene. So, for about a second, there are two James Bonds in the picture. One is the stuntman, and the other is Sean Connery. (01:38:05)
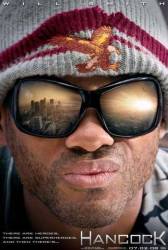
Visible crew/equipment: When Hancock returns Embrey and his car back to his house just after saving him and then picks up and moves the car onto the drive, you can see the blue crane used in the reflection of the car windscreen.

