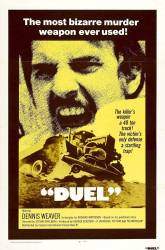
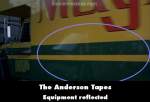
Visible crew/equipment: When Dennis Weaver is in the cafe a shadow of a cameraman is cast across the table he is sitting at. The shot then changes to a wider angle to reveal that there isn't anyone near him who could have cast that shadow.
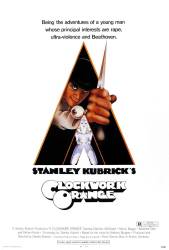
Visible crew/equipment: In the record store scene, the camera can be seen briefly in the reflection on the wall while it tracks Alex.
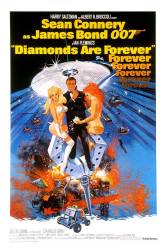
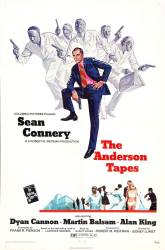
Visible crew/equipment: When Bond climbs off the elevator and hangs for a few seconds, if you look closely at the ground behind Bond, you can see his shadow on the screen behind him, which has the image of the ground projected onto it.
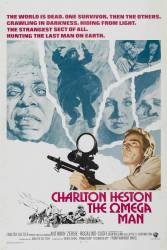
Visible crew/equipment: Very early on in the movie, Neville is happily driving around the deserted streets. Half way through this scene the camera shows us Neville's view out the front windscreen of the car. Ahead, moving cars can be seen crossing the intersection, obviously where the streets hadn't been blocked off for the filming of the movie.

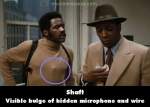
Visible crew/equipment: When Bumpy hires Shaft to find his daughter, Bumpy gives Shaft an envelope with money, and when Shaft stands up you can see the bulge of the hidden microphone and wire at the front of Shaft's turtleneck sweater. When Bumpy leaves the office Shaft turns around and there's a bulge at the back of his waist, which is presumably the mic transmitter. (00:26:10)

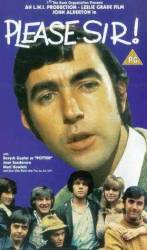
Visible crew/equipment: At the end of the film when the women have broken up the strike, after everyone has gone back in Sid James and Hattie Jacques are standing talking in front of Sid's car you can see the boom mike reflecting in the window of Sid's car.
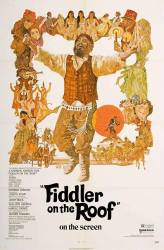
Visible crew/equipment: In Tevye's "dream", you can see the wires used to make Fruma Sarah's ghost fly. (Seen on TV broadcast.)
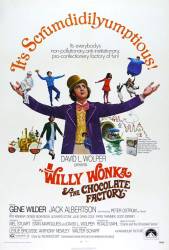
Visible crew/equipment: In the scene where the group enters the weird elevator with the escher wallpapered walls when the shot looks from the back of the elevator you can see the shadow of the camera/light reflector on Mr. Salt.
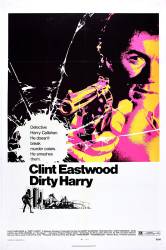
Visible crew/equipment: When the car with the bank robbers drives off Harry shoots the driver. The car crashes in a flower stand and knocks over a hydrant. When the camera angle changes to a view from the back you see a cable coming out of the trunk. (00:11:55)
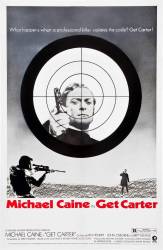
Visible crew/equipment: When Carter meets with Glenda on the bridge, a tracking shot of Carter trying to get away from the other thugs makes hard shadows of the camera on every pillar it moves by. (01:22:00)
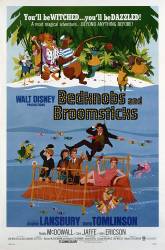
Visible crew/equipment: When Ms Price tries to fly on her broom and she is launched upwards and wipes-out on the floor, she is replaced by a very obvious and much younger stunt double.
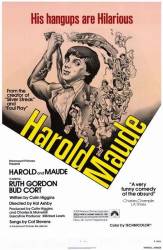
Visible crew/equipment: When Maude pulls the banjo out of a cabinet, you see the reflection of crew and lights.

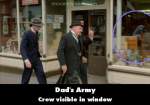
Visible crew/equipment: When Mr. Mainwaring, Mr. Wilson and Pike have left the radio shop and they are walking up the street, you can see the crew in the reflection of the shop windows.
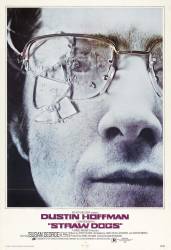
Visible crew/equipment: When David and Amy are driving to the farmhouse, just after shopping in town, the camera and its operator are plainly visible, reflected in the car's driver side window.
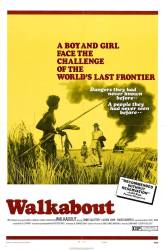
Visible crew/equipment: When the aboriginal tribe were gathering around the burnt out VW, in one shot, you can see a white man in the background with dark body paint to make him appear to be an aboriginal.
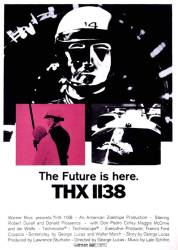
Visible crew/equipment: When LUH 3417 closes the door of the medicine cabinet because she doesn't have the right to take more pills, there's a reflection of a crew member's hand retaining a door.
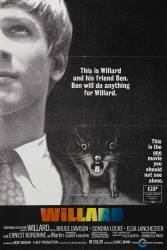
Visible crew/equipment: In the lower left-hand pane of glass in the kitchen cupboards, a crew member can be seen moving a rat (Ben) from the center table to where Willard left the box of rat poison. (01:30:42)
Visible crew/equipment: After Duke unlocks the padlocked gate, when the Mayflower truck is driven out of the parking lot the reflection of crew members, location lighting, and a reflector screen can be seen on the surface of the truck.
Visible crew/equipment: When Miss Ewell is walking back along the bus, you can see the shadow of a boom mic.
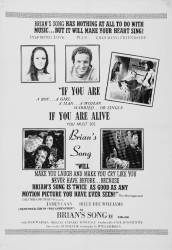
Visible crew/equipment: When Coach joins Piccolo and Sayers in their room, Coach tells them he wants to speak to both of them as it cuts to a medium shot, and the shadow of a boom mic moves around near the top right corner of the screen. (00:38:05)