
Visible crew/equipment: In the scene where Jeremy Kemp and George Peppard are playing daredevil in their planes and Kemp's plane hits a brick tower there is a shot of the plane plummeting to the ground. The alert viewer can see the shiny metal wires that were used to support and guide the plane on its way to the ground.
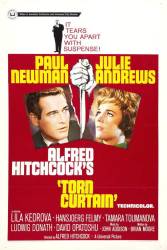
Visible crew/equipment: When Paul Newman takes Julie Andrews up a small hill to explain that he is not going to work for East Germany you can see a shot from a distance. It is clear that this scene was done in a studio, as you can see several lights above the blue background (which is supposed to be the blue sky).
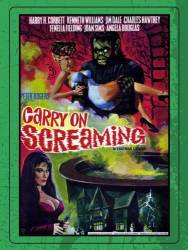
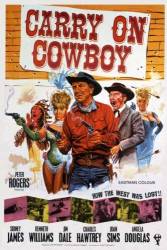
Visible crew/equipment: In the scene where Sgt. Bung wakes up in the bath, he hits his head on the copper water boiler. However, you can see the white padding that will protect his head stuck underneath the bottom of the boiler. This is visible throughout the scene. (00:57:15 - 00:58:00)
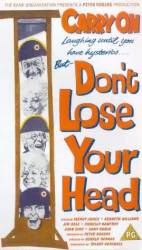
Visible crew/equipment: When Charles Hawtrey "jumps" onto the light near the end of the film you can see the strings pulling him across. The same can be seen with Jim Dale as well.
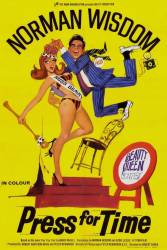
Visible crew/equipment: When Norman is hit by the bundle of newspapers he is thrown in the air and you can see the wires lifting him.

Visible crew/equipment: In one scene of the movie the camera is panning across the country side with the narrator speaking. As the camera passes a clump of bushes a member from the set crew is crouched over and squatting behind the bushes.

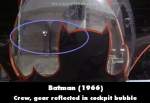
Visible crew/equipment: As the Batcoper emerges from its hangar, multiple crew and equipment are reflected in the cockpit's glass bubble. (00:04:05)
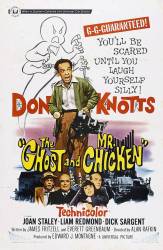
Visible crew/equipment: Near the end when Montag arrives at the Book Peoples' commune, he is greeted and ushered into a house. There's a shot from just inside the building, looking out a window towards Montag and his host as they approach. As the POV shifts a little, a reflection of the camera becomes plainly visible in the window glass.

Visible crew/equipment: During the bar fight scene, when the big man picks up Frank a wire is visible on his jacket when the big man throws him.
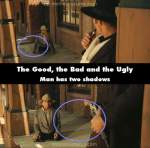
Visible crew/equipment: When Angel Eyes has finished paying the legless man for information, the legless man hops into the saloon. Notice he has two shadows, revealing the presence of stage lighting.

Visible crew/equipment: After Johnny Finger makes his first entrance and shoots three guys, he looks over at the undertaker's shop, and reflected in the window of the shop next door is a crew member wearing a suit and tie. (00:02:55)
Visible crew/equipment: Set lights are visible on Luther's Edsel as he pulls up to the police station.
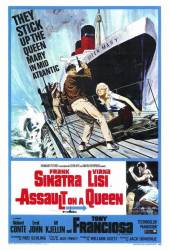
Visible crew/equipment: When the submarine is below the Queen Mary and the ship starts moving forward you can see a human hand holding the stern of the submarine as it is tossed around by the propellers.
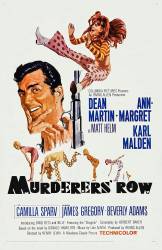
Visible crew/equipment: After Matt's arrested at the discotheque, when he's at the police station with Julian, the chalk actor's mark can be seen on the floor in front of Matt's feet.
Visible crew/equipment: Before the police officer removes the Griffin's racing helmet, a film crew member, equipment, and set lights are visible in the helmet's tinted visor.
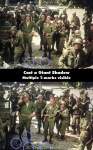
Visible crew/equipment: During the flashback scene in the clock courtyard, there are multiple T-marks (plastic type) visible on the ground, near Col. Marcus and Gen. Randolph. (00:16:20)